Page History
...
Connect to the Exchange Admin interface via your web browser.
Panel borderStyle none Caption 0 Figure 1 Connect to Exchange Admin 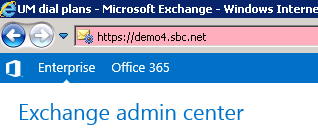
Select Unified Messaging.
Panel borderStyle none Caption 0 Figure 1 Unified Messaging 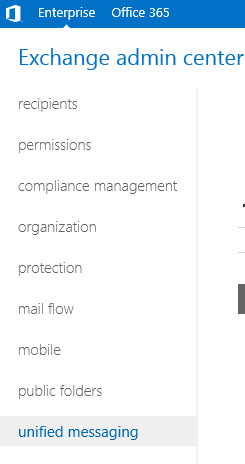
Select UM dial plans.
Panel borderStyle none Caption 0 Figure 1 UM Dial Plans 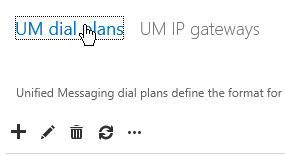
Add a new UM dial plan. Add a dia plan to support the Exchange <> SBC connection.
Info Lync and PBX dial plans are different. You should not attempt to use a Lync dial plan to support the Exchange <> SBC connection.
Panel borderStyle none Caption 0 Figure 1 Add New UM Dial Plan 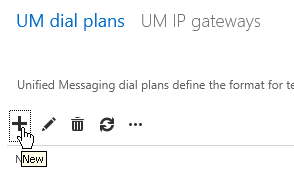
Panel borderStyle none Caption 0 Figure 1 New UM Dial Plan 
Create a UM IP gateway. Create an entry in Exchange for the SBC gateway.
Panel borderStyle none Caption 0 Figure 1 UM IP Gateway 
Panel borderStyle none Caption 0 Figure 1 Add New UM IP Gateway 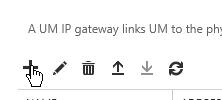
Panel borderStyle none Caption 0 Figure 1 New UM IP Gateway 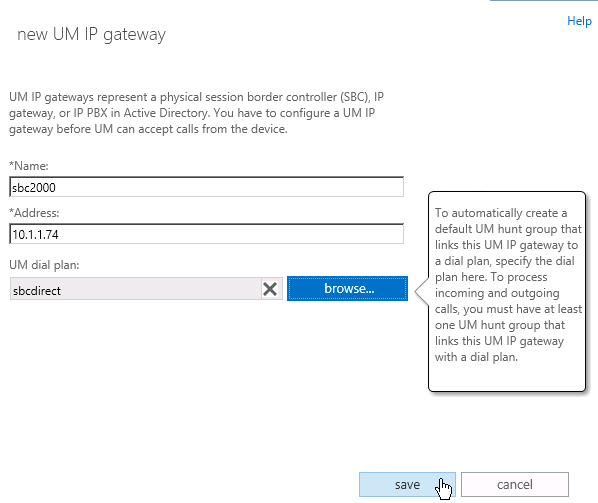
Modify the newly created UM dial plan.
Panel borderStyle none Caption 0 Figure 1 UM Dial Plan Panel borderStyle none Caption 0 Figure 1 Modify New UM Dial Plan 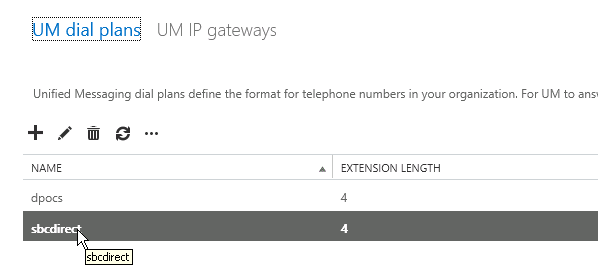
Configure/verify Outlook Voice Access.
Panel borderStyle none Caption 0 Figure 1 Configure Dial Plan 
Panel borderStyle none Caption 0 Figure 1 Outlook Voice Access 
Panel borderStyle none Caption 0 Figure 1 Dialing Rules 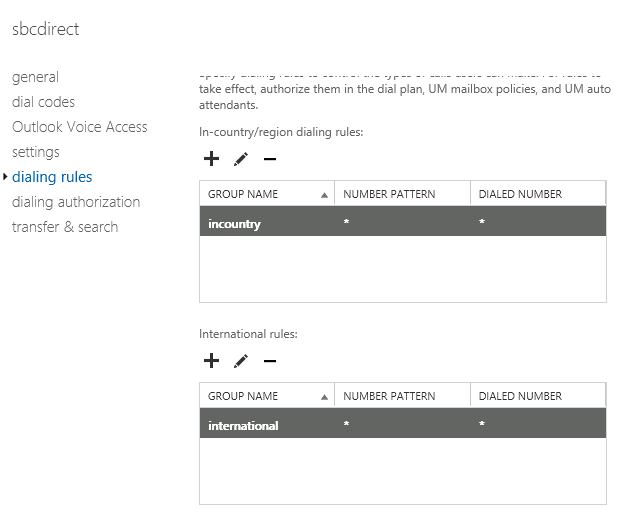
Panel borderStyle none Caption 0 Figure 1 Dialing Authorization 
Panel borderStyle none Caption 0 Figure 1 Transfer and Search 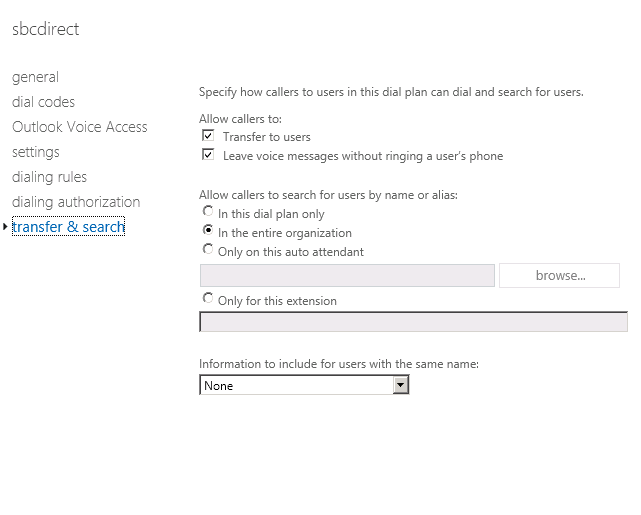
Add a UM Mailbox Policy to the dial plan.
Panel borderStyle none Caption 0 Figure 1 Add UM Mailbox Policy 
Panel borderStyle none Caption 0 Figure 1 New UM Mailbox Policy 
Modify/verify the newly created UM Mailbox Policy.
Panel borderStyle none Caption 0 Figure 1 Modify New UM Mailbox Policy 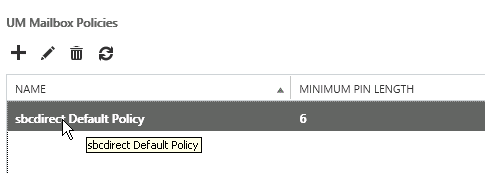
Panel borderStyle none Caption 0 Figure 1 General 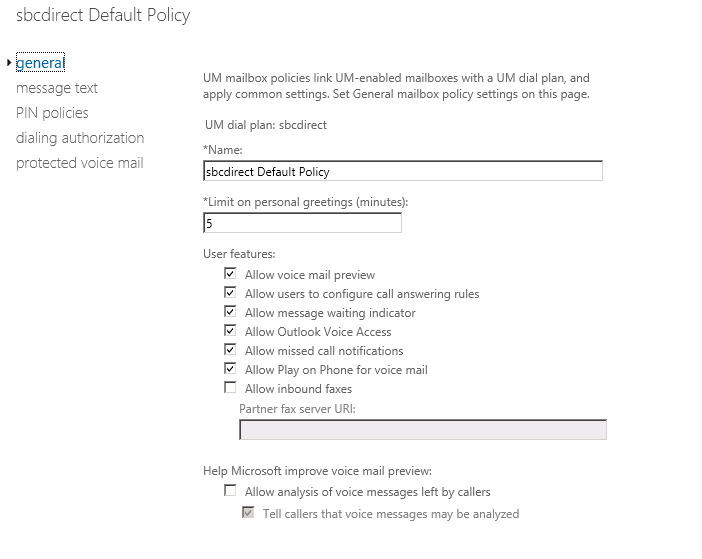
Panel borderStyle none Caption 0 Figure 1 Dialing Authorization 
Add a UM Auto Attendant.
Panel borderStyle none Caption 0 Figure 1 Add UM Auto Attendant 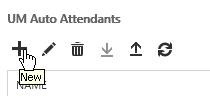
Panel borderStyle none Caption 0 Figure 1 New UM Auto Attendant 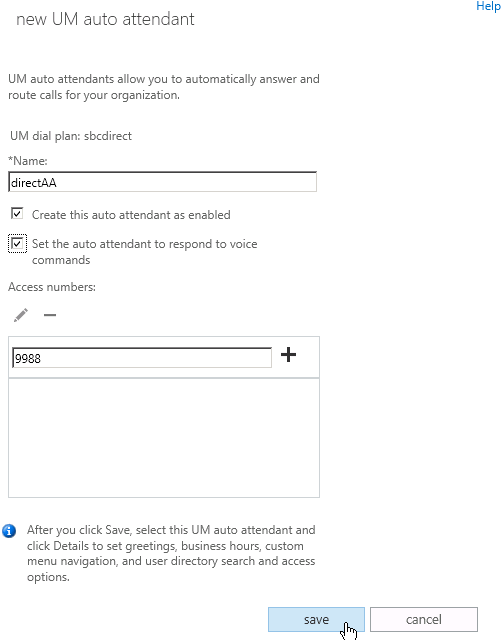
Modify/verify the newly created UM Auto Attendant.
Panel borderStyle none Caption 0 Figure 1 Modify New UM Auto Attendant 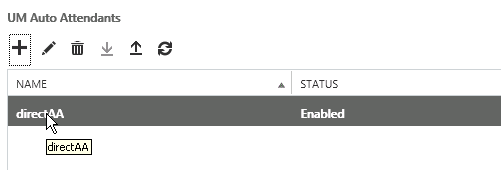
Panel borderStyle none Caption 0 Figure 1 Address Book and Operator Access 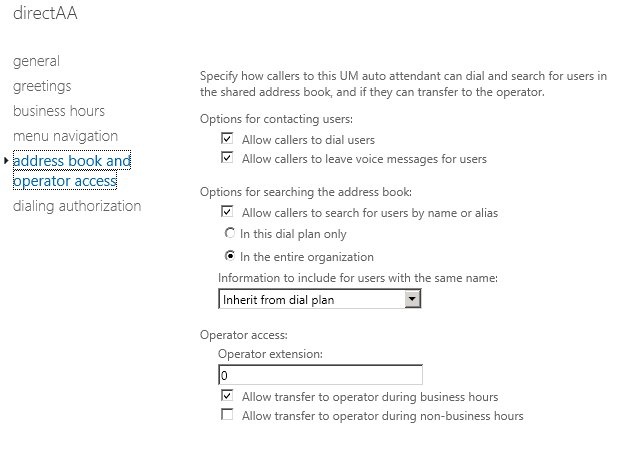
Panel borderStyle none Caption 0 Figure 1 Dialing Authorization 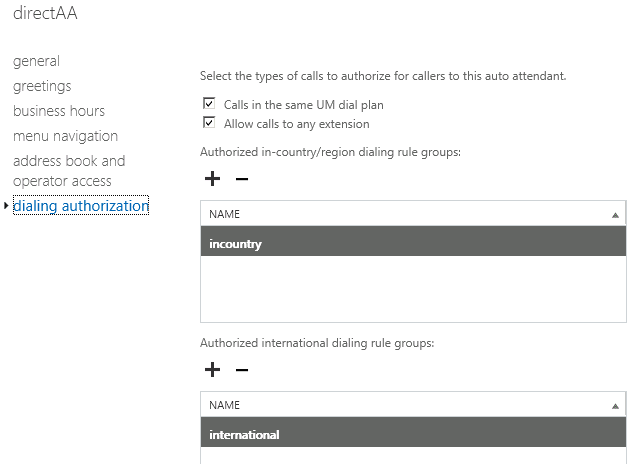
If a UM Hunt Group if a default does not already exist.
Panel borderStyle none Caption 0 Figure 1 UM Hunt Group 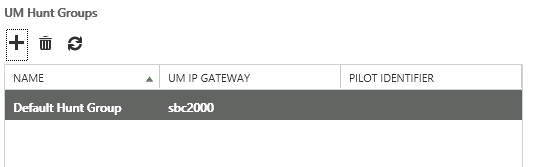
Add users to the newly created SBC dial plan. Adding extensions is accomplished via a user's Unified Messaging configuration.
Panel borderStyle none Caption 0 Figure 1 Add Users 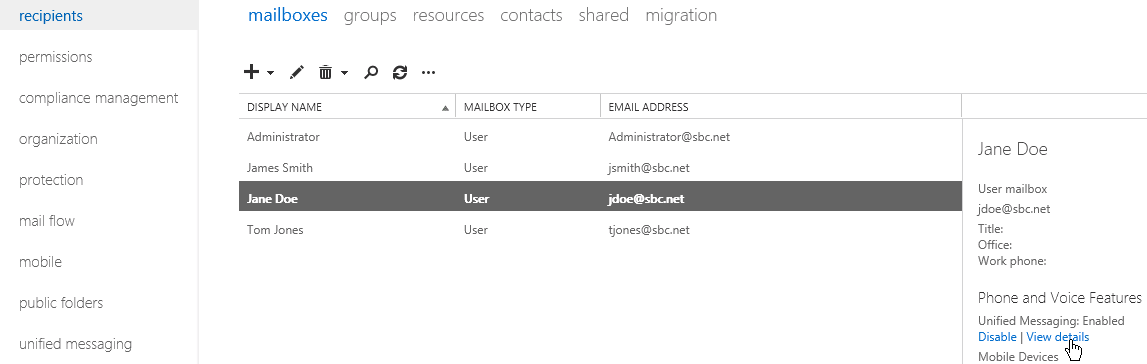
Panel borderStyle none Caption 0 Figure 1 Other Extensions 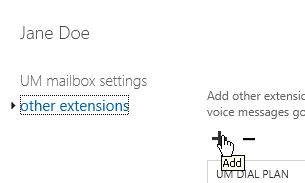
Panel borderStyle none Caption 0 Figure 1 Add Another Extension 
Configure the SBC
...
Edge
The next section covers configuring the SBC 1k/2k Edge to interface to the Exchange server.
Browse to the Sonus SBC 1k/2kEdge.
Panel borderStyle none Caption 0 Figure 1 Browse to Sonus SBC 1000/2000 
Create/verify SIP Profile.
Panel borderStyle none Caption 0 Figure 1 Create SIP Profile 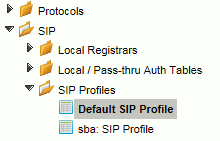
Panel borderStyle none Caption 0 Figure 1 SIP Profile Entry 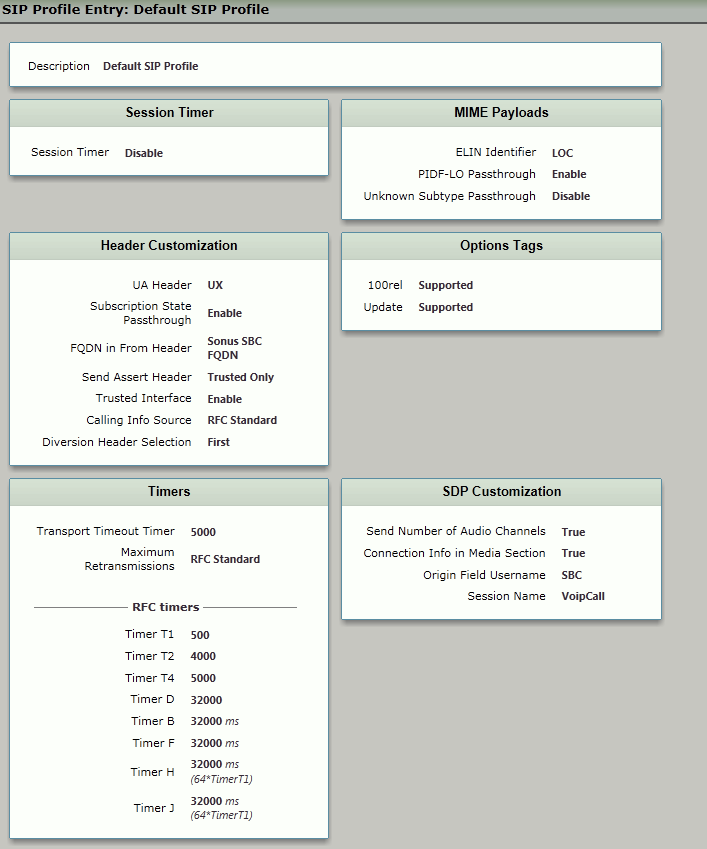
Create a SIP Server Table for the Exchange Server.
Panel borderStyle none Caption 0 Figure 1 SIP Server Table 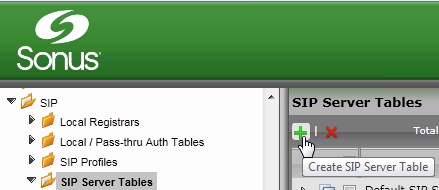
Panel borderStyle none Caption 0 Figure 1 Create SIP Server Table 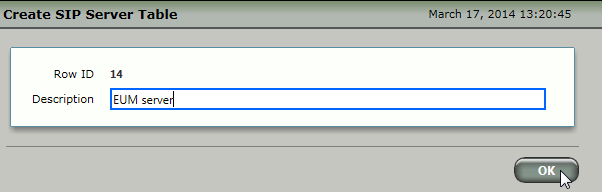
Add the Exchange Server to the newly created SIP Server Table.
Panel borderStyle none Caption 0 Figure 1 Add Exchange Server 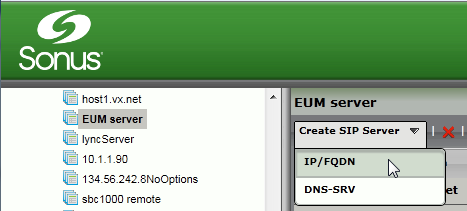
Panel borderStyle none Caption 0 Figure 1 Create SIP Server Entry 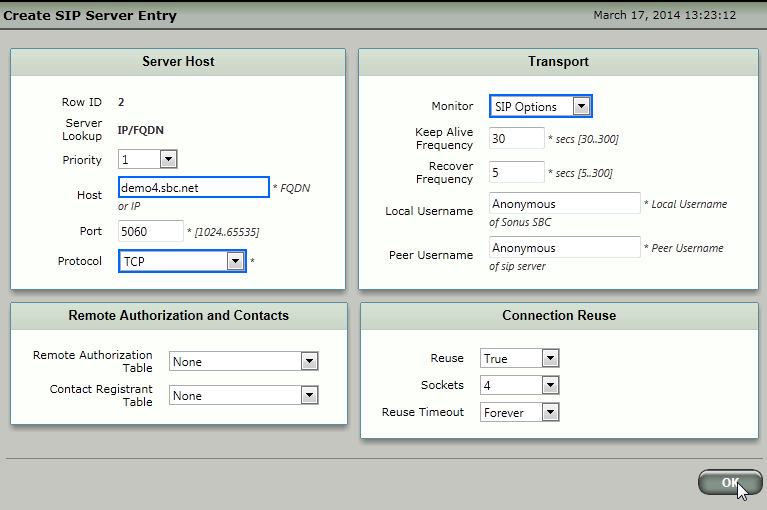
Create a Transformation Table and Transformation Entries to be used to process calls sent from Exchange's Subscriber Access (SA) and Automated Attendant (AA) to the SBC. In the example below, no manipulation is performed on the calls received from Exchange. Adjust your configuration according to your specific needs.
Panel borderStyle none Caption 0 Figure 1 Transformation Table 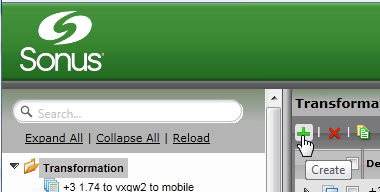
Panel borderStyle none Caption 0 Figure 1 Create Transformation Table 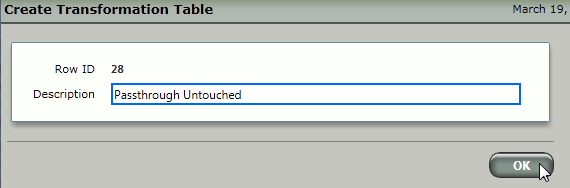
Panel borderStyle none Caption 0 Figure 1 Passthrough Untouched 
Create a Call Routing Table to process incoming calls from the Exchange SA and AA.
Panel borderStyle none Caption 0 Figure 1 Call Routing Table 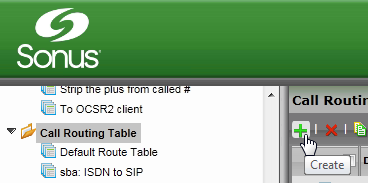
Panel borderStyle none Caption 0 Figure 1 Create Call Routing Table 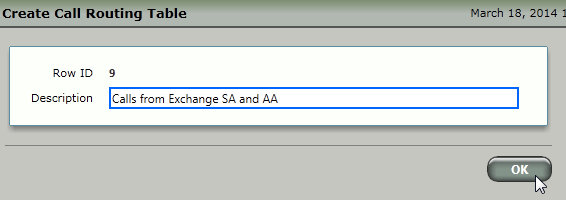
Create a SIP Signaling Group to process incoming SIP calls from the Exchange Subscriber Access and Automated Attendant.
Panel borderStyle none Caption 0 Figure 1 SIP Signaling Group 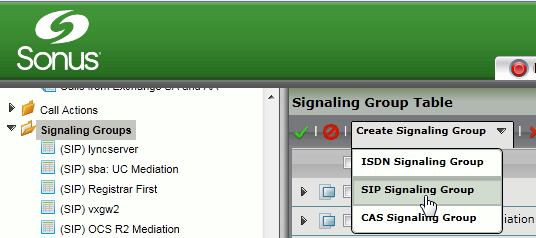
Panel borderStyle none Caption 0 Figure 1 SIP Signaling Group Details 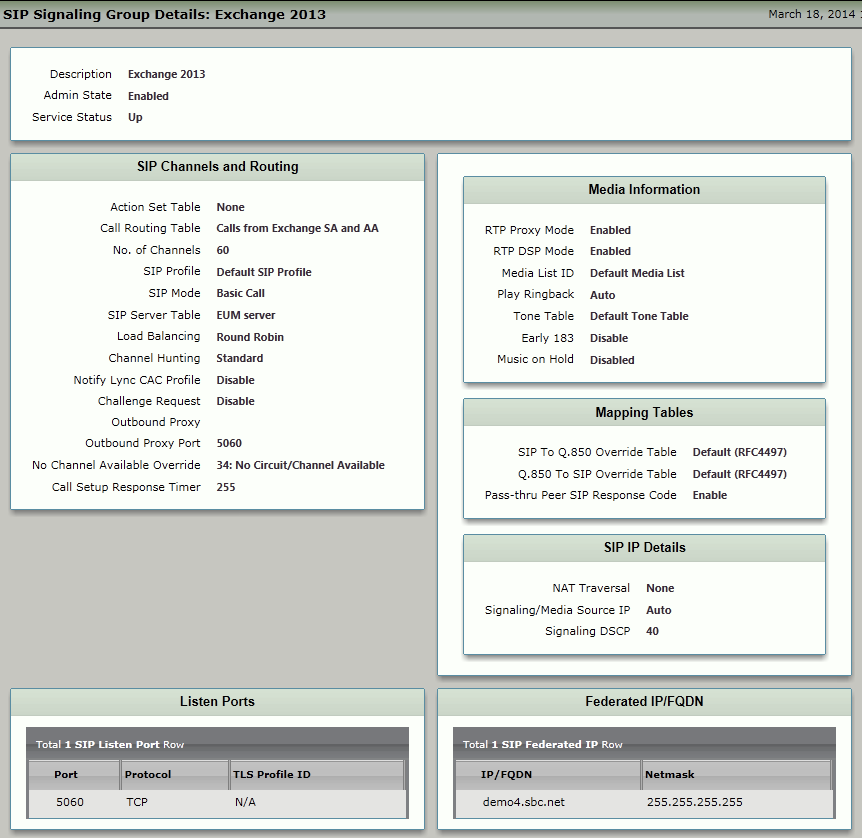
Create entries in the Call Route Table. These call route entries process incoming calls from the Exchange Subscriber Access and Auto Attendant. Create a call route for every possible destination for Exchange SA/AA calls.
Panel borderStyle none Caption 0 Figure 1 Create Routing Entry 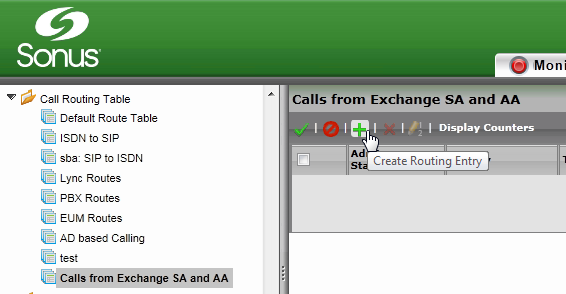
Panel borderStyle none Caption 0 Figure 1 Create Call Routing Entry 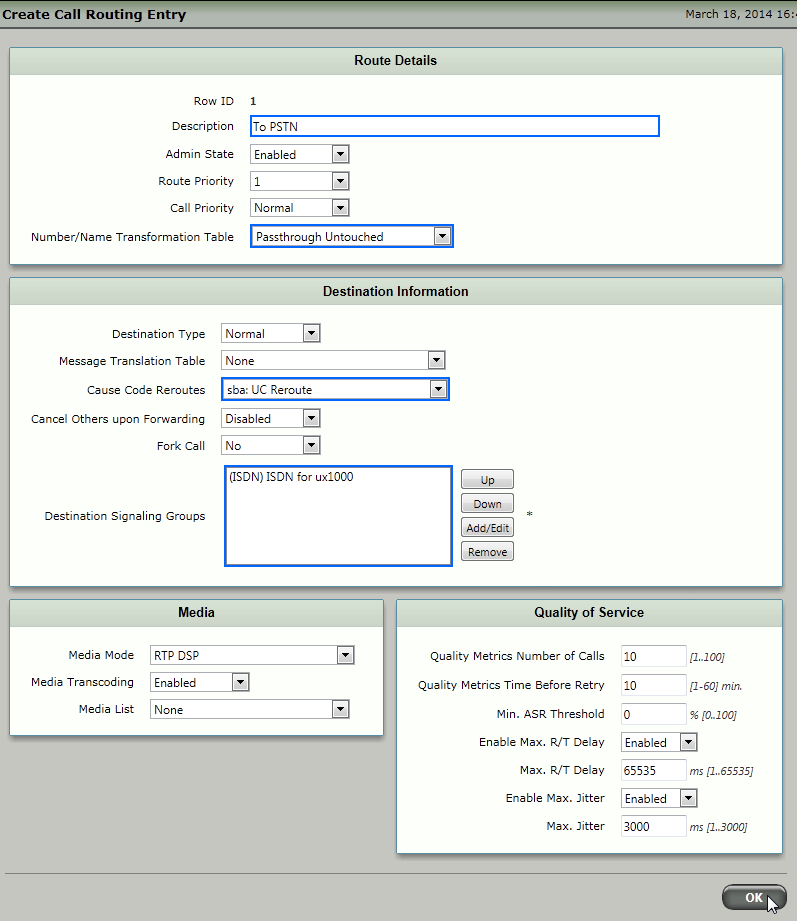
In addition to the above configuration that supports incoming calls from Exchange, you will need to create corresponding configurations to route calls to Exchange from other sources (such as PSTN and PBXs). It is strongly recommended that transformations for Exchange SA/AA appear at the top any transformation table. These entries not only handle the initial calls to Exchange, but also the 302 from Exchange (used during the call setup).
Info Not placing the Exchange transformations at the top of the transformation table may cause the 302 to fail, which will cause the calls to Exchange to fail.
Panel borderStyle none Caption 0 Figure 1 Call to EUM 
...
Overview
Content Tools