Page History
| Section | |||||||||||||||||||||||
|---|---|---|---|---|---|---|---|---|---|---|---|---|---|---|---|---|---|---|---|---|---|---|---|
|
...
Prerequisites
| Tip |
|---|
Assumes the user is familiar with navigating the SBCx000's WebUI |
...
| Note |
|---|
The RBA Feature is included only in SBC version 3.0 or betternewer. |
SBC Configuration
This quick start document shows the steps and interlational parameters required to configure a UX to successfully route calls. The configuration process of a UX should always begin with running a wizard; however, the wizard only needs to be run for the very first configuration.
...
| Panel | |||||||
|---|---|---|---|---|---|---|---|
| |||||||
|

Before Beginning
...
| Panel | |||||||
|---|---|---|---|---|---|---|---|
| |||||||
|

RBA Image
| Tip |
|---|
If your HQ-side SBC was running version 2.2, you will need upgrade both the ASM image as well as the SBC firmware. The latest ASM image is available at support.net.com. |
...
| Panel | |||||||
|---|---|---|---|---|---|---|---|
| |||||||
|

Check the RBA License
...
| Panel | |||||||
|---|---|---|---|---|---|---|---|
| |||||||
|

DNS Configuration
...
| Panel | |||||||
|---|---|---|---|---|---|---|---|
| |||||||
|

Lync Server Topology Configuration
...
Start the Topo Builder
Panel borderStyle none Caption 0 Figure 1 Start Topology Builder 
Enter Login Credentials
Panel borderStyle none Caption 0 Figure 1 Login Credentials 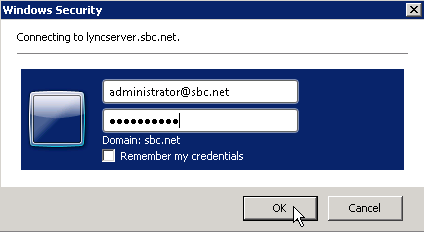
Download the Topology
Panel borderStyle none Caption 0 Figure 1 Download Topology 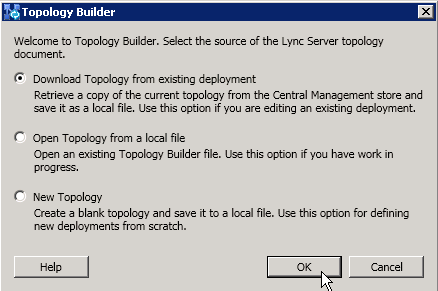
Specify a Filename
Panel borderStyle none Caption 0 Figure 1 Specify Filename 
Confirm Changes
Panel borderStyle none Caption 0 Figure 1 Confirm 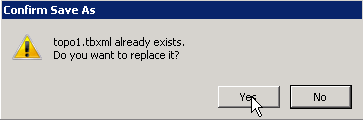
New Branch Site
Add a new Branch Site. In the example, Taveuni is the new remote branch.
Right-click on Branch Sites and select New Branch Site
Panel borderStyle none Caption 0 Figure 1 New Branch Site 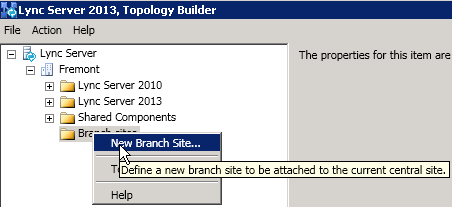
Enter the remote site identity
Panel borderStyle none Caption 0 Figure 1 Remote Site Identity 
Configure the site details
Panel borderStyle none Caption 0 Figure 1 Site Details 
New PSTN Gateway
...
| Panel | |||||||
|---|---|---|---|---|---|---|---|
| |||||||
|

| Panel | |||||||
|---|---|---|---|---|---|---|---|
| |||||||
|

| Panel | |||||||
|---|---|---|---|---|---|---|---|
| |||||||
|

| Info |
|---|
The RBA function requires media bypass, which, in turn requires TLS/SRTP. Later this document, the remote PSTN gateway will be re-configured from TCP/RTP to TLS/SRTP. Employing the simplier TCP/RTP model will help ease the implementation by providing a phased approach to the implementation. |
...
| Panel | |||||||
|---|---|---|---|---|---|---|---|
| |||||||
|

Lync Server Configuration
...
Click New
Panel borderStyle none Caption 0 Figure 1 New 
Add a Site Policy
Panel borderStyle none Caption 0 Figure 1 Add Site Policy 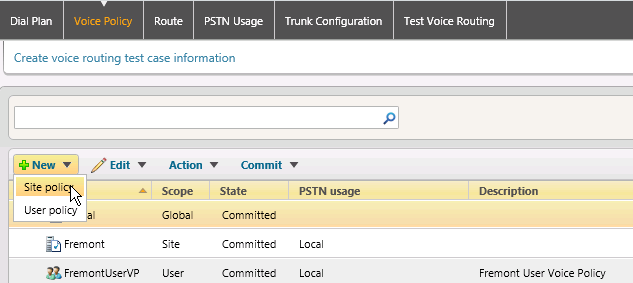
Select the remote site you just added to the Lync topology.
Panel borderStyle none Caption 0 Figure 1 Select Remote Site 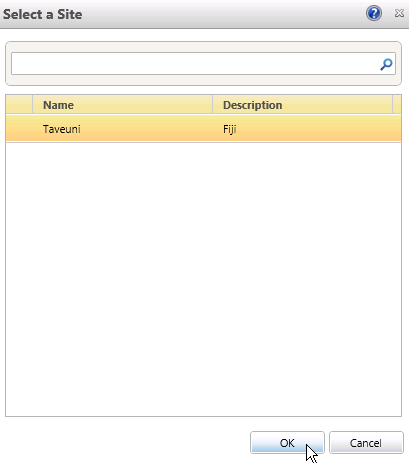
Add a new PSTN Usage
Panel borderStyle none Caption 0 Figure 1 Add PSTN Usage 
Supply a Name and Add a Route
Panel borderStyle none Caption 0 Figure 1 Name and Route 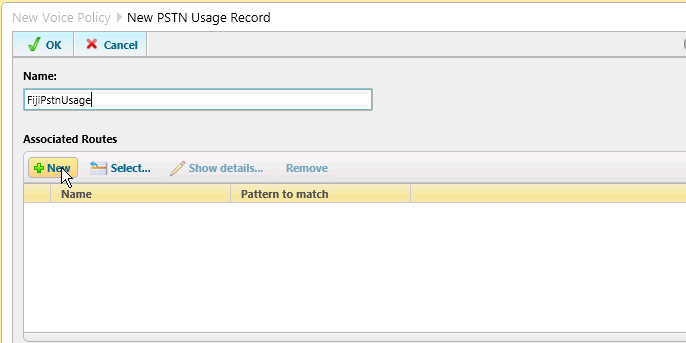
Configure a call route pattern
Panel borderStyle none Caption 0 Figure 1 Configure Call Route Pattern 
Add a Trunk
Panel borderStyle none Caption 0 Figure 1 Add Trunk 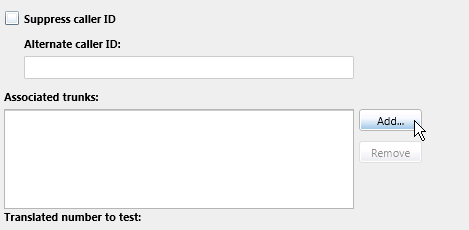
Choose the newly added remote-network SBC
Panel borderStyle none Caption 0 Figure 1 Select Trunk 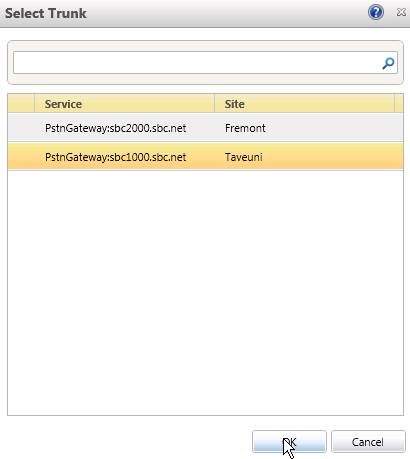
Click OKat each of the configuration layers
Panel borderStyle none Caption 0 Figure 1 Configuration Level 1 
Panel borderStyle none Caption 0 Figure 1 Configuration Level 2 
Panel borderStyle none Caption 0 Figure 1 Configuration Level 3 
Pagebreak
Commit New Site Voice Policy
...
Click the Commit pulldown and Commit All
Panel borderStyle none Caption 0 Figure 1 Commit All 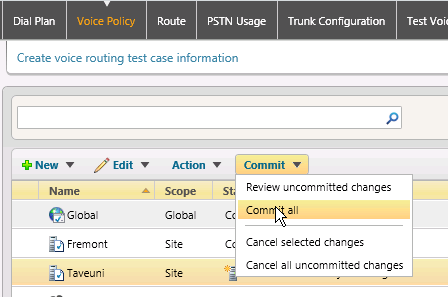
Click OK.
Panel borderStyle none Caption 0 Figure 1 OK Configuration Settings 
Verify Route and PSTN Usage
...
In the top navigation bar, click Route. Ensure that the route was added.
Panel borderStyle none Caption 0 Figure 1 Ensure Route Added 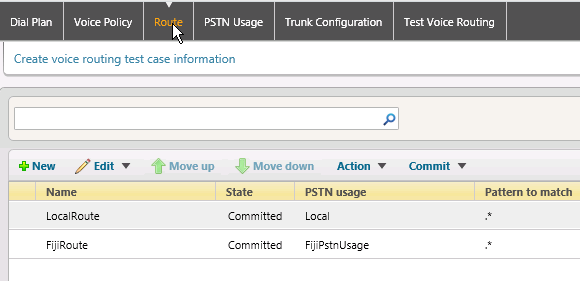
In the top navigation bar, click PSTN Usage. Ensure that the PSTN Usage was added.
Panel borderStyle none Caption 0 Figure 1 Ensure PSTN Usage Added 
Pagebreak
Create a User New Dial Plan
...
Click Voice Policy in the top navigation. Click New and select User Policy.
Panel borderStyle none Caption 0 Figure 1 Voice Policy 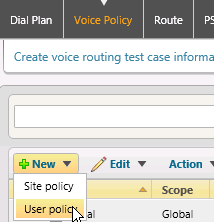
Fill in the form as shown using information for your particular installation.
Panel borderStyle none Caption 0 Figure 1 Fill in Form 
Click New under Associated PSTN Usages.
Panel borderStyle none Caption 0 Figure 1 New Associated PSTN Usages 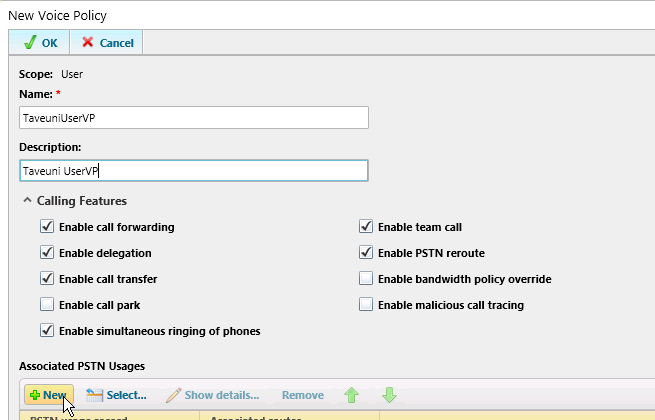
Pagebreak
Create a New PSTN Usage
Create a PSTN Usage to be used with the User-level policies.
Create a New PSTN Usage record.
Panel borderStyle none Caption 0 Figure 1 Create PSTN Usage Record 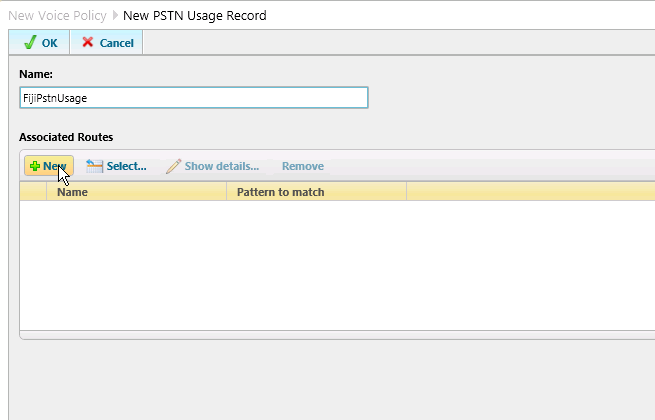
Enter your site-specific configuration information.
Panel borderStyle none Caption 0 Figure 1 Enter Configuration Information 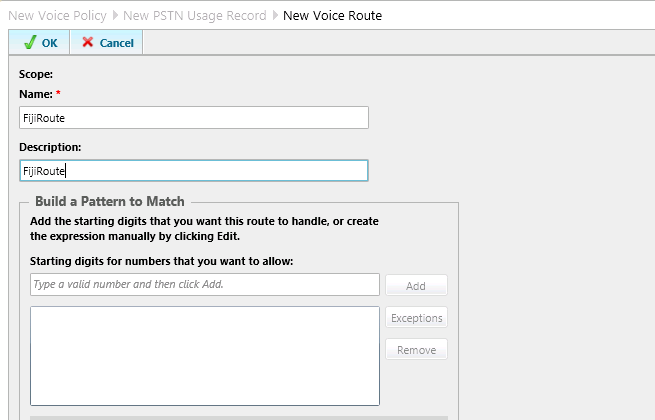
Click Add for Associated Trunk
Panel borderStyle none Caption 0 Figure 1 Add Associated Trunk 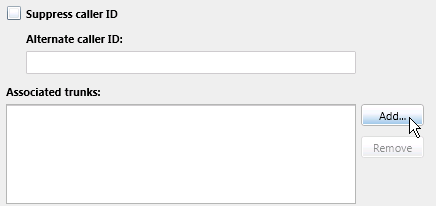
Select the remote-network SBC gateway
Panel borderStyle none Caption 0 Figure 1 Select Trunk 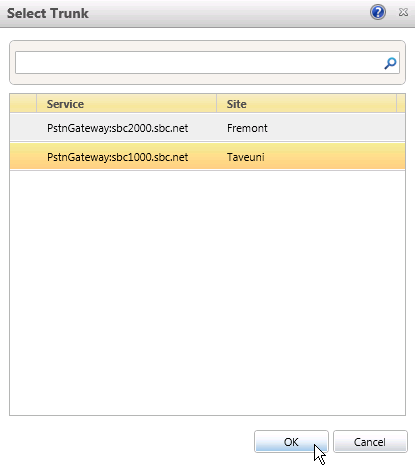
Click OKfor all the configuration layers.
Panel borderStyle none Caption 0 Figure 1 Configuration Level 1 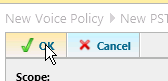
Pagebreak Panel borderStyle none Caption 0 Figure 1 Configuration Level 2 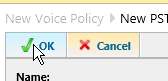
Panel borderStyle none Caption 0 Figure 1 Configuration Level 3 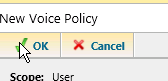
...
Click the Commit pulldown, then select Commit All.
Panel borderStyle none Caption 0 Figure 1 Commit All 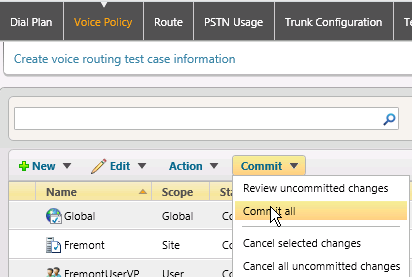
Click OK.
Panel borderStyle none Caption 0 Figure 1 OK Configuration Settings 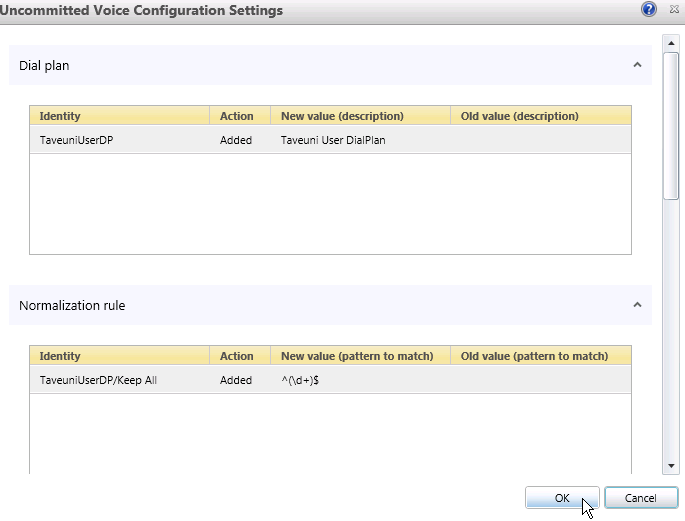
Pagebreak Verify the Route Route was added.
Panel borderStyle none Caption 0 Figure 1 Verify Route Added 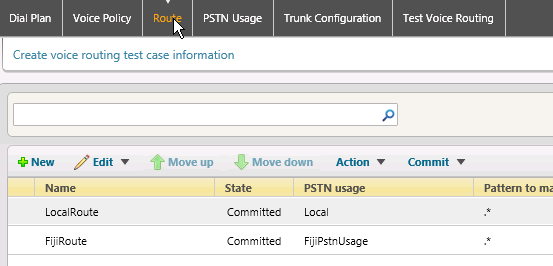
Verify the PSTN Usagewas added.
Panel borderStyle none Caption 0 Figure 1 Verify PSTN Usage Added 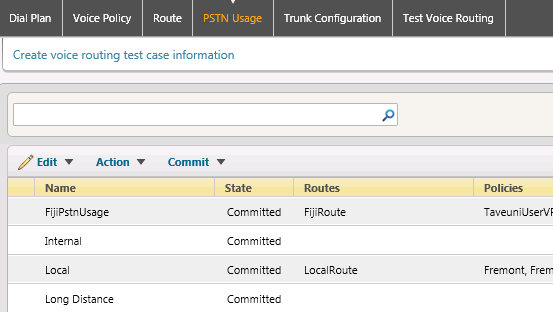
Pagebreak
Add or Move a User into the
...
New Remote Location
You will need to have a user homed to the remote-network location.
Click Users in the left-hand navigation. Enter the name of the user to move to the remote network and click Find.
Panel borderStyle none Caption 0 Figure 1 Find User 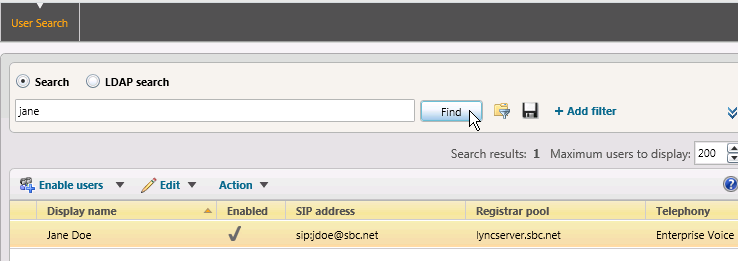
In the Edit pulldown, select Show Details.
Panel borderStyle none Caption 0 Figure 1 Show Details 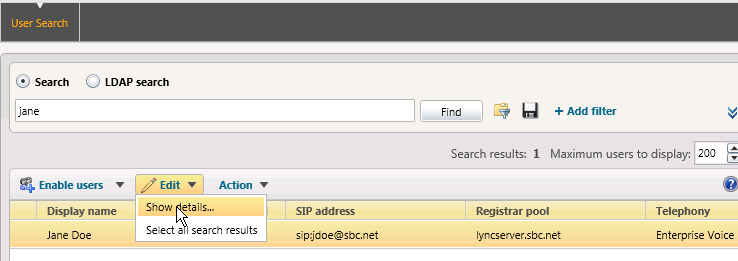
Set the Dial Plan and Voice Policy of the user to thos of the remote network Userpolicies.
Panel borderStyle none Caption 0 Figure 1 Edit Lync Server User 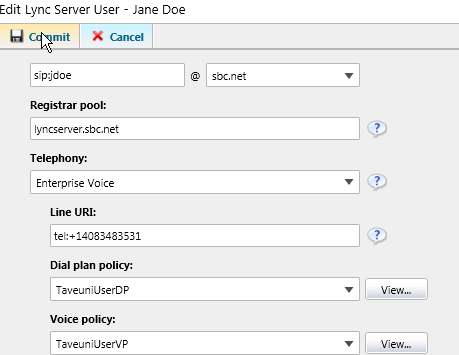
Pagebreak
Configure the Network Configuration
...
Click Network Configuration in the left-hand navigation. Click Global in the top navigation, click the Edit pulldown, and select Show Details.
Panel borderStyle none Caption 0 Figure 1 Show Details 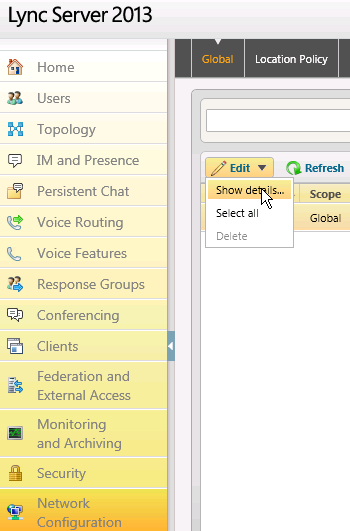
Ensure that the CAC and Bypass options are selected. Change the settings and commit, if necessary.
Panel borderStyle none Caption 0 Figure 1 Edit Global Setting 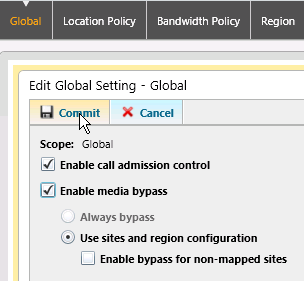
Create a
...
New Bandwidth Policy
Create a Bandwidth Policy to be used to control the CAC from the RBA function.
Click Bandwidth Policy in the top navigation and select New.
Panel borderStyle none Caption 0 Figure 1 New Bandwidth Policy 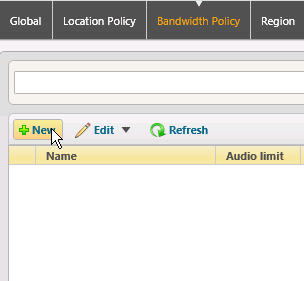
Pagebreak Enter the bandwidth specification for your remote network link, then click Commit.
Panel borderStyle none Caption 0 Figure 1 Enter Bandwidth Specification 
Pagebreak
Create a
...
New Region
Create regions to be used with the RBA feature. There will be a region for the HQ, as well as the remote-network.
Click Region in the top navigation and select New.
Panel borderStyle none Caption 0 Figure 1 New Region 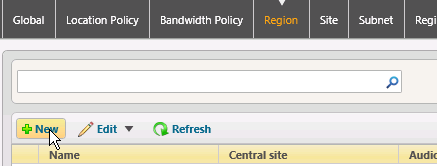
Add a record for the remote region and Commit.
Panel borderStyle none Caption 0 Figure 1 Remote Region Record 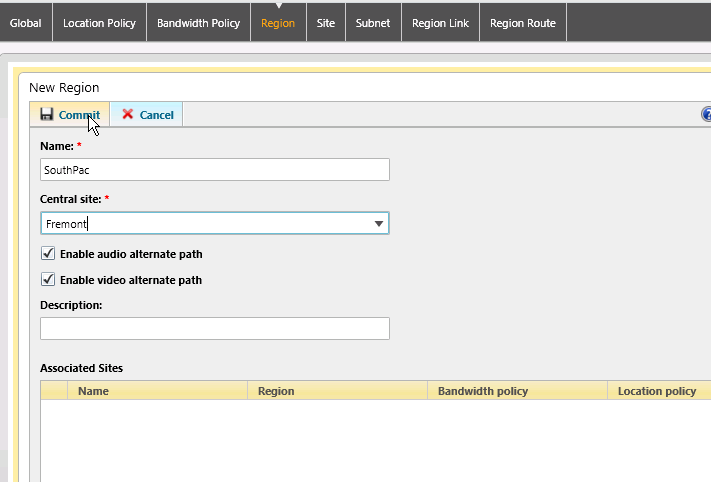
Click New New to add the second region.
Panel borderStyle none Caption 0 Figure 1 Add Second Region 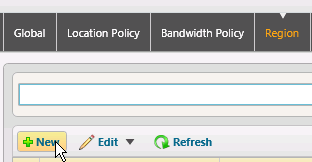
Pagebreak Add a record for the HQ site and Commit.
Panel borderStyle none Caption 0 Figure 1 HQ Site Record 
Create a new Site
Create sites to be used for the RBA function. Again, there will be a HQ site, as well as a remote site.
Click Site in the top navigation and select New.
Panel borderStyle none Caption 0 Figure 1 New Site 
Enter the information for your remote site. Click Commit.
Panel borderStyle none Caption 0 Figure 1 Remote Site Information 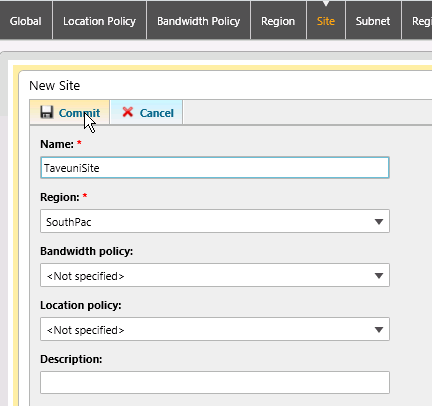
Click New and enter the information for your HQ site. Click Commit.
Panel borderStyle none Caption 0 Figure 1 HQ Site Information 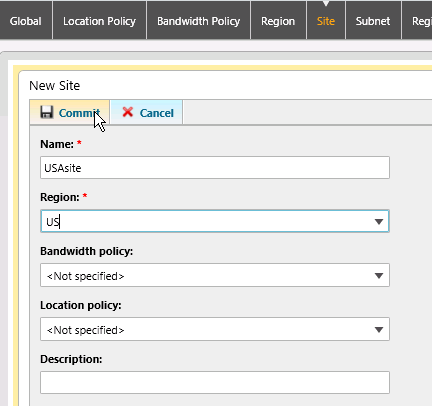
Pagebreak
Create
...
New Subnets
IP addresses are used by the Lync Server to identify the origin of a Lync client. Create subnet records for both the HQ and remote network sites.
...
Click Region Link in the top navigation and select New.
Panel borderStyle none Caption 0 Figure 1 New Region Link 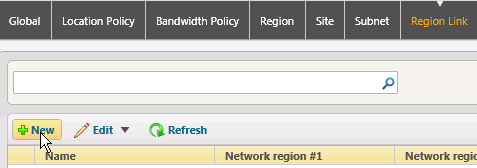
Using the pulldowns, select the HQ Region, the Remote Region and the Bandwidth Policy profile you previously created.
Panel borderStyle none Caption 0 Figure 1 Select From Pulldowns 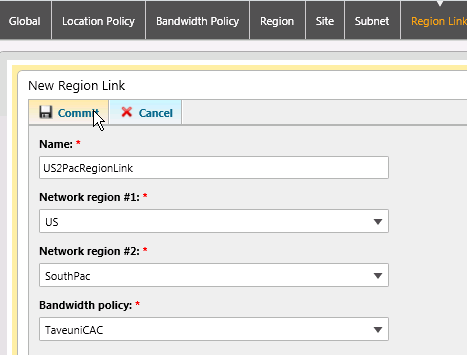
Pagebreak
Create a
...
New Region Route
Create a Region Route for the Region Link.
...
Overview
Content Tools